
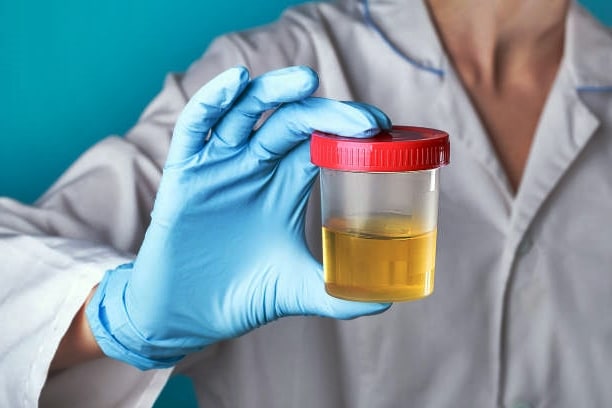
Urine samples are an important part of any doctor’s or lab’s work. If you are someone who must provide a urine sample, it will be in your best interest to have a clean and sterilized container to avoid contamination.
Urine samples are used to check for disease, screen for drug use, test for pregnancy, and gain other information. These samples are often used as part of many different types of medical examinations to check for a variety of different things.
A lot of people are thinking about how to sterilize a container for urine sample. But not a lot of people think about how to clean and sanitize a container for urine samples. This blog will go over the methods of sterilization and the best practices for cleaning and sanitizing containers for urine samples.
Why it’s important to sterilize a container for a urine sample?

Maintaining the sterility of the container is an essential step in the collecting of urine samples. The introduction of unwelcome microorganisms that can change the content of the urine and jeopardize the validity of test results is prevented by sterilization. It’s important to remember that bacteria in a non-sterilized container might look harmless initially. However, they can multiply and greatly affect the sample, resulting in incorrect diagnoses or treatments that aren’t needed.
There are various advantages to using a sterilized container:
- Ensures that urine test findings are accurate and reliable.
- Prevents contaminants that can change the urine sample’s makeup.
- Gives medical professionals trustworthy information to help them make decisions about diagnosis and treatment.
- Minimizes the possibility of test findings being falsely positive or falsely negative.
- Keeps the urine sample’s integrity intact, allowing for thorough analysis and accurate interpretation.
The reliability of the test results may be jeopardized if a urine sample is not collected in a sterile container.
Sterilizing the container used to collect a urine sample is crucial for ensuring trustworthy and accurate test findings, which will help with the appropriate diagnosis and treatment of different medical disorders.
Things to consider before choosing a urine sample container
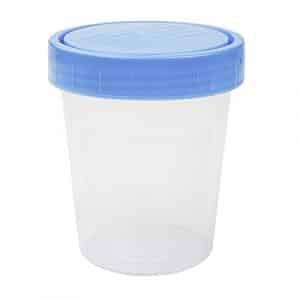
When collecting urine samples, you will need to use a sterile container. The container should be made of a material that is easily sterilized and free from contaminating elements. There are a few different materials that are commonly used for collecting urine samples, but you should always use materials that are easy to clean and sanitize.
For containers, it is recommended that you use polypropylene, polyethylene, or polystyrene. They are all safe for your body and can be easily sterilized. You should also use a container that has a lid that is airtight and can be sealed.
How to sterilize a container for urine samples?
Containers used for urine samples should be cleaned and sanitized before being used. You should always use a new container when you take a urine sample. This will ensure that the sample is kept sterile. You can also use a used container as long as it is cleaned and sterilized properly. To sterilize a container for urine samples, you should be sure that the container and the lid can be cleaned and sanitized.
Over the past few decades, urine samples have been used for a number of different purposes, including providing a simple test for pregnancy, detecting the presence of a disease, or even as a biomarker for food quality. As a result, the healthcare industry has developed a number of different methods for sterilizing and cleaning containers for urine samples.
The methods vary in terms of the materials used, whether or not they are disposable, and the difficulty involved. We’ll be going over some of the most common methods for sterilizing and cleaning containers for urine samples, as well as discussing the best practices to follow when using them.
How to sterilize a container for urine samples using a sterilizer?
Cleaning up urine is a pretty straightforward process, but it can be a tricky one. Some of the tricks to cleaning are not just about cleaning, but about sterilizing too. There are many ways to sterilize a container for urine samples. However, the best way to sterilize a container for urine samples is to place it in a certified home sterilizer.
The first thing to do is to set up the sterilizer. You’ll need to place the container on the designated tray and close the lid. Turn on the sterilizer and it might take about 10 minutes for a container to be sterilized.
How to sterilize a container for urine samples using boiling water?
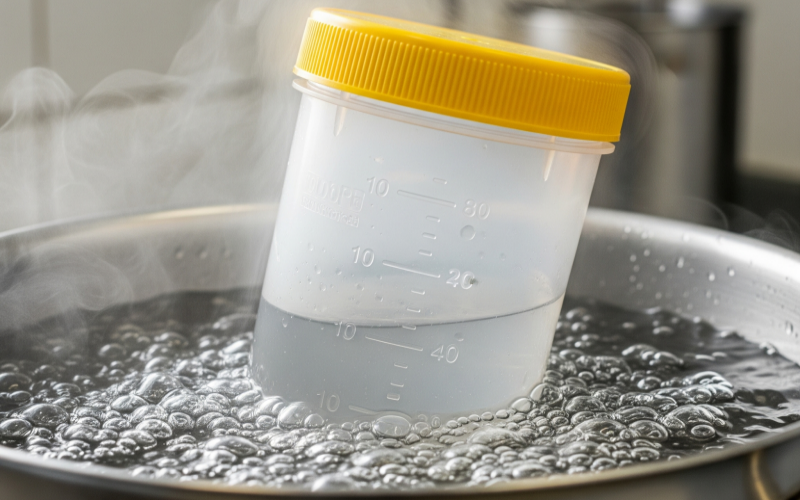
When you’re collecting a urine sample, it is important to ensure that it is sterile before you bring it back to the lab. There are many ways to sterilize a container for urine samples, but if you’re in a pinch, you can use boiling water to sterilize it. The method for boiling water is as follows:
Boil a pot of water on the stove. Take a clean, empty urine sample container and place it inside the pot. Fill the pot with water up to the rim of the container. If you have a lid for the container, place the lid on the container. Make sure there are no cracks in the lid. Let the water come to a rolling boil. Make sure that the container is not touching the side of the pot. After the water has come to a rolling boil, let it go for about 4-5 minutes. After the five minutes are up, place the container in a bowl of cold water to cool it down. Then let the container cool completely. Now it’s ready for use!
You may also read: How To Sterilize Dental Instruments At Home?
How to sterilize a container for urine samples in a dishwasher?
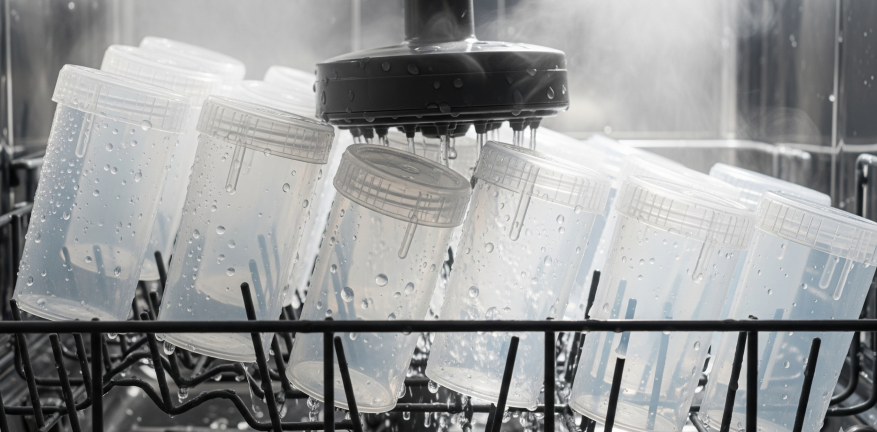
Containers for urine samples should be sterilized by boiling or running through a dishwasher cycle. The first process takes longer and will require you to use a stove, whereas the second process takes less time and is done with a dishwasher, so it can be your preferred method.
To do this, simply put the container in the dishwasher with a regular load. Make sure that you put the container in the upper rack. The dishwasher should be set on a standard cycle. The temperature should be set to a temperature of not less than 180 degrees Fahrenheit. Make sure to run the dishwasher for a full cycle. The dishwasher will wash and rinse the container, and it will be sterilized when it’s finished.
What is the best practice for storing a container for urine samples?
If a container for urine samples is to be used for testing, it should be cleaned and sanitized before use. Urine should be stored in a container with the lid tightly fastened. If a container for urine samples is not tightly sealed, it will become contaminated with urine and will not be reliable for use in testing.
When storing a container for urine samples, it is best to keep it in a cool, dry place and avoid exposure to direct sunlight. Make sure that the container is completely dry before you store it. The best practice for storing a container for urine samples is to keep it in a cool, dry location.
You can also store the container in an opaque bag to prevent exposure to light. If you are storing the container in the refrigerator, make sure that it is not touching any other items. It is recommended that the container be stored tightly wrapped in a double zipper bag.
You may also read: How To Disinfect Something That Fell in The Toilet?
Tips for storing and transporting the sterilized container
To keep a sterilized container for urine samples sterile and intact, it must be transported and stored properly. The container will remain clean and the sample will remain accurate if you keep these advice in mind:
Handle with clean gloves: Using clean gloves will help prevent the spread of germs or other microbes from your hands when handling the sterilized container. By taking extra care, the risk of contamination during storage and delivery is decreased.
Maintain cleanliness: When placing the sterilized container in storage, make sure it has been fully cleaned and is free of any impurities. Reduce the danger of infection by giving it a thorough rinse with sterile water and letting it air dry in a sanitized area.
Use a sealable bag or container: To add an extra layer of security, place the sterilized container in a sealable bag or container. This keeps its sterility intact while being stored and transported and helps protect it from external contamination.
Limit movement: To avoid jeopardizing the container’s sterility, don’t shake or move it about excessively. To lessen the chance of accidental spills or damage, put it as securely as you can.
Storage in a clean, controlled environment: Keep the sterilized container away from chemicals, intense scents, and high humidity levels, as well as other potential sources of contamination. Choose a cool, dry location to help keep it sterile.
When it comes to the handling, storage, and transportation of the sterilized container. It’s crucial to adhere to any particular directions or recommendations given by medical specialists or testing facilities.
Remember, You need to make sure that the sterilized container stays free from contamination during storage and transit by keeping in mind these suggestions. By doing this, the sample’s reliability and the validity of the test results will both be preserved. Always keep in mind that proper handling and storage are essential to ensuring the validity of any medical specimen.
Wrapping Up
For a urine sample to be used for drug screenings and other medical purposes, it must be sterilized. You can prepare your own container for a urine sample, or you can purchase a commercially prepared container from a drugstore or medical supply store. If you prepare your own container, you need to sterilize it beforehand. You can use a sterilizer, dishwasher, or boiling water to sterilize the container.
We hope you enjoyed our blog which highlights how to sterilize and clean a container for urine sample. We couldn’t think of a better way to pass on your knowledge than by sharing some information on how to sterilize and clean a container for urine samples. It is important to remember that urine is a highly infectious fluid and it is always best to be safe than sorry. We got the best practices and methods of how to do it and we hope that you’ll get what you are looking for. If you’re reading this and have any additional questions or comments, please don’t hesitate to contact us. Thank you for re
People also ask – FAQs
Yes, you can use a plastic container for a urine sample. Plastic containers are commonly used for collecting urine samples in medical settings. Make sure it is clean, sterile, and has a secure lid to prevent leakage.
It is better to throw away the container and use a fresh, sanitized one if you accidently touch the interior of the container when sterilizing it. The accuracy of the test findings may be impacted if bacteria or other pollutants are introduced by touching the interior of the container.
Reusing a urine sample container is not advised since it could result in contamination and false test results. Each urine sample should be put in a fresh, disinfected container.
If you are unable to sterilize a container for a urine sample, you can either ask your healthcare professional for a sterile container or buy pre-sterilized containers from a medical supply store. In order to prevent erroneous test findings and associated health hazards, appropriate sterilization must be ensured.
A urine sample jar that has been adequately sanitized can be kept in a cold, dry location for a number of weeks. To prevent infection, it is important to utilize the container as soon as you can.
While sterilizing a urine sample container in the microwave is technically possible, doing so is not advised. The microwave’s sterilizing power might not be sufficient, and the container might deform or sustain other harm. To achieve proper sterilization, it is advisable to use boiling water or a professional sterilizing solution.
Make sure the water is at a rolling boil for at least 10 minutes before sterilizing a container with it. Follow the manufacturer’s instructions if you’re using a commercial sterilizing solution. Prior to use, the container needs to air dry.